APPENDIX F: TORQUE LIMITS
TM 9-2350-256-20
F-2
HOW TO USE TORQUE TABLE-Continued
3
Under the heading Size, look down the left-hand column until you find the dia. of the screw you are installing (there
will usually be two lines beginning with the same size).
4
In the second column under Size, find the number of threads per 1 in. (25.4 mm) that matches the number of
threads you counted in step 2.
5
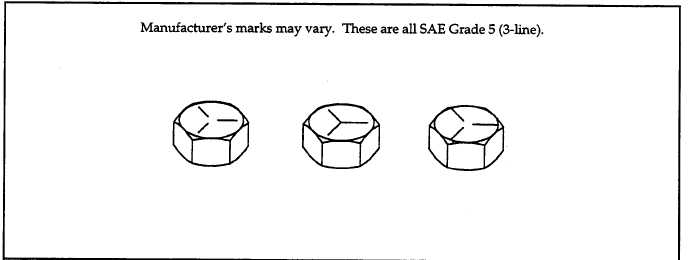
To find the grade screw you are installing, match the markings on the head to the correct picture of SAE Cap Screw
Head Markings on the torque table.
6
Look down the column under the picture you found in step 5 until you find the torque limit in pound-feet (lb- ft) or
Newton-meters (N-m) for the diameter and threads per 1 in. (25.4 mm) of the screw you are installing.
STANDARD CAP SCREW HEAD MARKINGS
F-2

