SECTION II: FIXED FIRE EXTINGUISHER SYSTEM
TM 9-2350-256-20
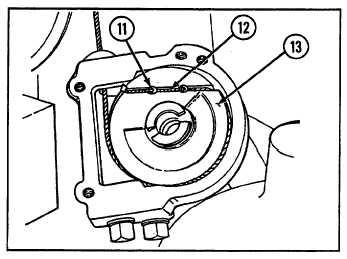
6 Remove cable pulley assembly (13) from cylinder control valve housing (14) to remove cable (12) from housing.
b. INSPECTION
1 Inspect system components for wear, corrosion, and damage. If necessary, remove defective parts and replace.
2 Clean and dry all items before installation.
c. INSTALLATION
NOTE
Repeat steps 1 through 5 for each cylinder
control valve.
1 Wind cable (12) around sheave of cable pulley
assembly (13) and secure by tightening two screws
(11).
2 Install cover assembly (8) with three screws (9) and
three new lockwashers (10).
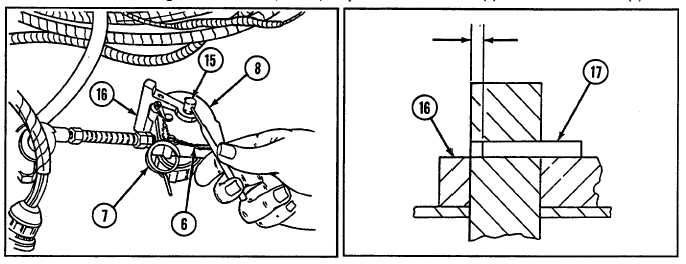
3 Rotate cylinder control valve shaft (15) and handle
(16) counterclockwise to the reset position, and
install safety pin (7) through handle and cover
assembly (8).
4 Install new safety seal (6).
5 Inspect two fire extinguisher control valves to be sure pin (17) does not extend beyond shaft on side away from handle
(16). If it does, protruding pin must be driven back into shaft 0.062 inch (in.) (1.57 millimeters [mm] ). Then stake
hole at three places to prevent pin from coming through. File staking flush to ensure free rotation.
6 Install two cylinder control valves (3) into cylinders (5).
7 Connect interconnecting tube assemblies (1 and 2) to cylinder control valves (3) and head assemblies (4).
10-15